Last Updated on August 12, 2025 by Toya
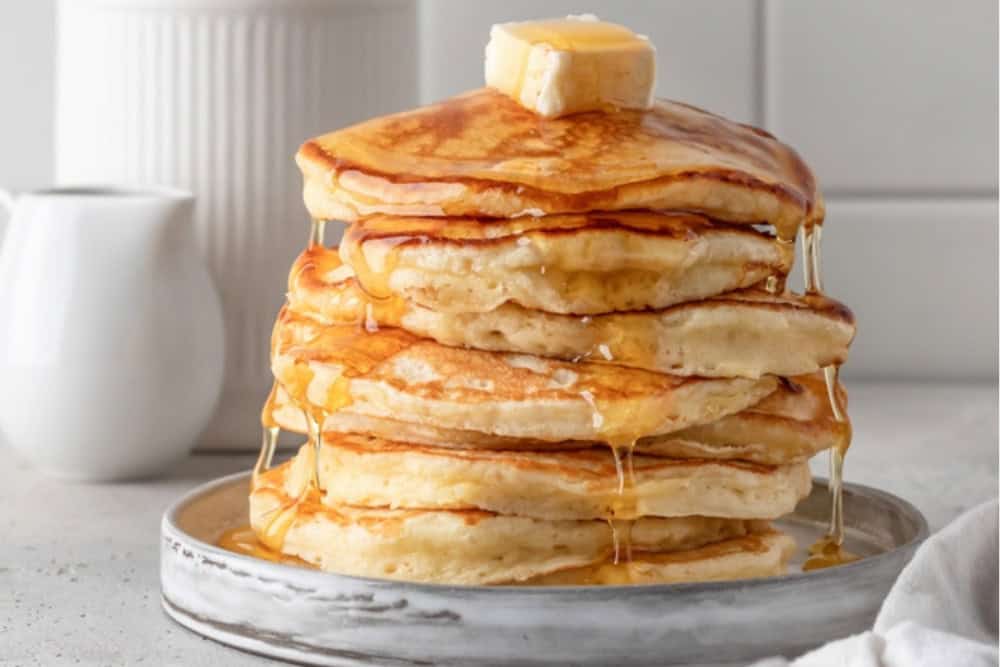
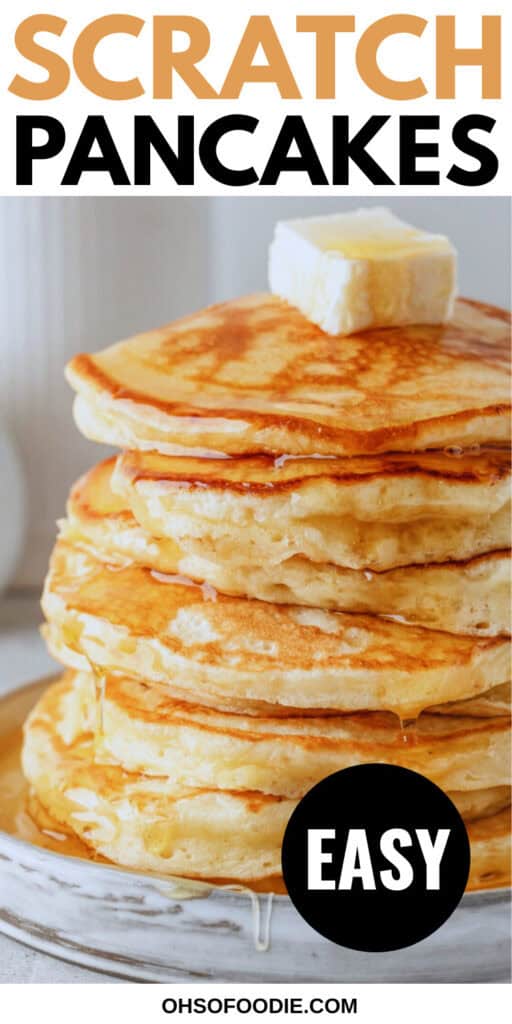
These are the BEST Scratch pancakes you can whip up right at home in minutes! These pancakes are made with easy-to-find ingredients and loaded with flavor. These pancakes are anything but healthy. They’re made with all purpose flour, butter, sugar and topped with butter and maple syrup. But they’re so good! They’re perfect for treating yourself every once in a while.
When it comes to making yummy breakfast or coming up with good brunch ideas, a stack of butter pancake are my trusted go to! I love me some overnight oats because they’re easy to make, healthy and convenient, but I’m always ready to enjoy a stack of warm pancakes oozing with butter and syrup!
These are my latest favorites, so I thought I’d share them with you! I mean, why not, right?
Plus, they’re great for whipping up for the family when you can’t think of anything else to make for breakfast.
Why Make Pancakes from Scratch?
Pancakes made from scratch are perhaps the best types out here. Mainly because you have full control over what goes into the pancakes. So, you can control things like sugar content, sodium content, and you can even switch up the type of flour you use! But beyond that made from scratch pancakes have less additives and preservatives and they’re fresher.
Ingredients Needed
- 1 ½ cups all-purpose flour, spooned and leveled
- 1 ¼ cups milk (gradually add some more if the batter is too thick)
- 3 tablespoons melted butter or coconut oil
- 1 large egg
- 2 teaspoons baking powder
- 2 tablespoons cane sugar
- 1 ½ teaspoons vanilla extract
- ½ teaspoon sea salt
- Extra butter or coconut oil, for cooking
- Extra butter and Maple Syrup for serving
What I Used to Make These Pancakes
- Mixing Bowls – These are my new favorite set of lightweight mixing bowls. I use them for just about everything. You can grab it at an affordable price right on Amazon.
- Whisk – Use a whisk to make your batter, but be careful not to break up all the lumps. You need some for fluffiness!
- Measuring Cups and Spoons – I’ve been using this set of sturdy stainless steel measuring cups and spoons to make everything. I found these measuring cups and spoons on Amazon, and I love how durable and accurate they are compared to the cheap plastic ones I used to have before.
- Non-Stick Frying Pan – This is my go-to pan for pancakes. Nothing sticks, and cleanup is super easy. It heats evenly too, which means I get the perfect golden brown pancakes every single time. You can grab this one or find a ton of other great non-stick options on Amazon if you’re looking for a new one.
- Spatula – I use a flexible, wide spatula that makes flipping pancakes a breeze.
- Ladle or Batter Dispenser – If you want perfect looking, mess free pancakes, then this batter dispenser is such a game changer! You can find it for a pretty affordable price on Amazon, and it’s been so handy for the mornings when I make pancakes.
How to Make Scratch Pancakes
Starting by gathering all the ingredients you need. Then measure out the ingredients. Measuring spoons and cups are a must—no eyeballing allowed! A little extra sugar or salt might not sound that bad, but trust me, your pancakes will notice. So, stick to the measurements, and your pancakes will turn out perfect every time!
![My New Favorite Stainless Steel Mixing Bowl Set W/ Airtight Lids [26Pcs]](https://m.media-amazon.com/images/I/51W1kvb+a4L._SL500_.jpg)
Need good mixing bowl for your kitchen? These are a great option! The set comes with 3 grater attachments, black non-slip bottoms, and bowls in 7 sizes (1QT to 7QT) that are perfect for mixing, serving, and storage. Black, khaki, and colorful option available.
Then grab a mixing bowl and beat the milk, eggs, melted butter and vanilla extract until well combined.
Then mix the dry ingredients (including the flour, baking powder, can sugar, and sea salt to combine.)
Finally, add the dry ingredients to the wet ingredients and whisk just until there is almost no dry ingredients visible. Do not whisk the batter until it is smooth. You should leave a few lumps in there.
Cover and set it aside for about 5 minutes.
Next, add about 1 tablespoon of butter to a large non-stick frying pan or skillet and place it over medium-low heat. Once the butter is melted, pour ¼ cup of batter into the frying pan or skillet for each pancake. If your pan is large enough, like this one which I highly recommend, you can typically cook up to 4 pancakes at a time.

I use this every week to make golden pancakes. I've tried several pans, but this non-stick pan ensures my pancakes cook evenly and slide off effortlessly every time!
When you see bubbles starting to form in the center of the pancakes, you’ll know its time to flip them – Typically 2-3 minutes. The bottom of the pancakes should be golden brown. If they are too brown, then you will need to lower the heat.
Cook the pancakes for 2-3 minutes on the next side, then remoove from the heat.
If there are any brown bits or brown butter left in the skillet, wipe them off with some paper towels. Then continue cooking the rest of your pancake until there is no more batter left!
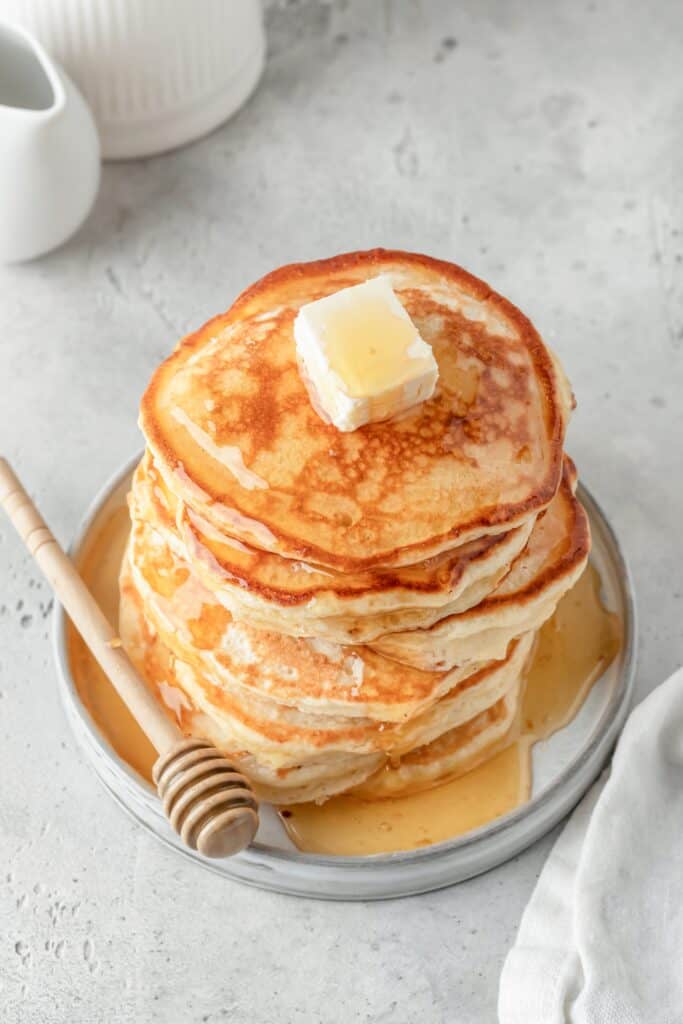
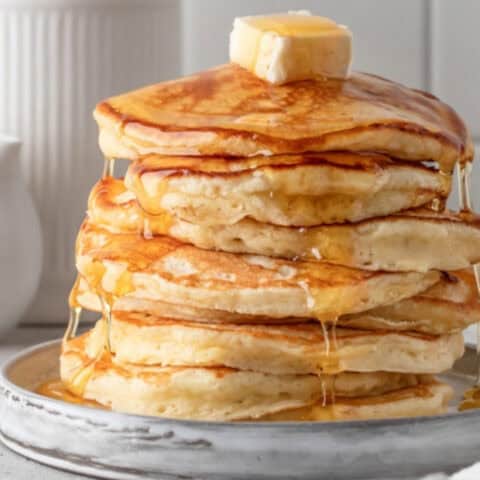
Serve with butter and maple syrup!
Important Tips & Tricks For The Best Scratch Pancakes!
▪️Make Sure the Consistency of the Batter is Right
Pancake batter should have a consistency that is pourable, but also be thick enough to hold its shape when poured or spooned into the hot skillet or pan.
If your pancake batter is too thin, the pancakes will spread too much and turn out flat. But, If he batter is too thick, the pancakes are likely to be dense which may lead to them being undercooked in the center.
Before you start cooking the pancakes, scoop a spoonful of the batter. It should flow easily in a thick ribbon. If not, then you will need to make a few small adjustments.
If too thick, add a little more milk (one tablespoon at a time) to loosen up the batter. And, if you find it too thin, add a bit more flour (again one tablespoon at a time) to thicken it up.
▪️Control the Heat
If the heat is too high, I guarantee that your pancakes will be burnt on the outside and raw on the inside. And if the heat is too low, the pancakes are likely to take forever to cook and may become dry and tough. Nobody want thats!
Therefore, I always set my skillet to medium-low or medium heat. I find that my pancakes cook perfectly at that temperature. If you’re not confident in knowing when your skillet is ready for the pancakes batter, here are two simple tricks you can try:
➤ Water Droplet Test: Sprinkle a few drops of water onto the skillet. If the water sizzles and dances around before it evaporates, then it is ready for the pancake batter.
➤ Butter Test: If you add a small dab of butter to the pan—and it melts gently and starts to bubble without instantly browning or burning, the you can be confident that the skillet is ready for your pancake batter.
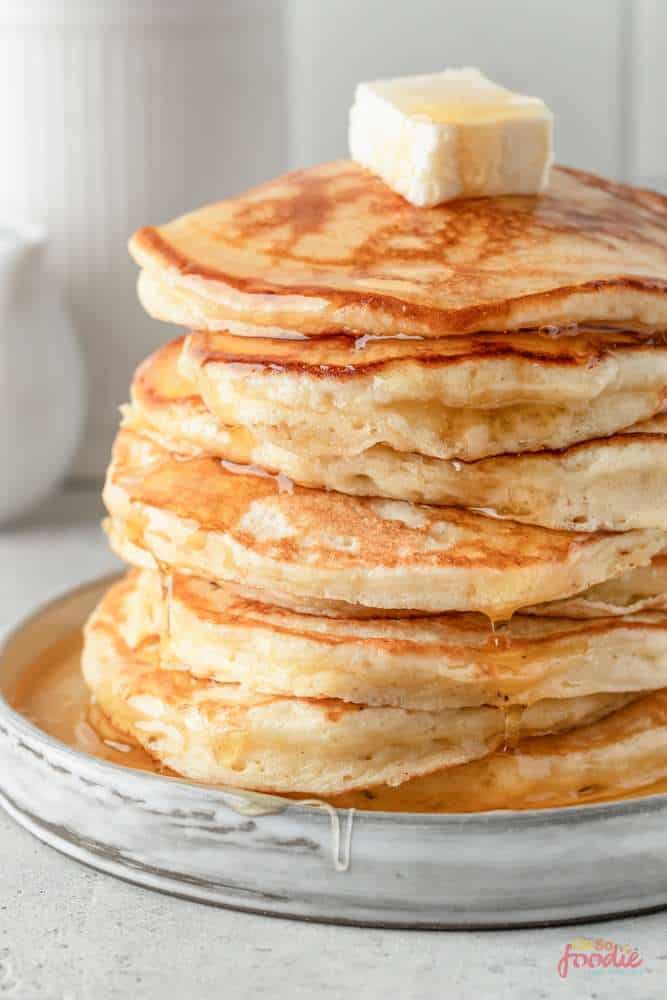
▪️Making the Fluffiest Pancakes from Scratch
No one wants flat pancakes, but you can easily get this result if you don’t do it right.
To make sure that your pancakes turn out fluffy, light and airy, there are three things you need to keep in mind.
➤ Do Not Over-mix the Batter — Over-mixing will naturally lead to the development of gluten which can make the pancakes chewy instead of airy, light and fluffy pancakes.
When you add the wet ingredients into the dry ingredients, it’s perfectly okay to leave a few lumps in the batter in favor of over mixing everything until perfectly smooth.
➤ Let the Batter Rest — Also, let the batter rest for a bit—ideally 5 minutes if you’re short on time, but up to 10 minutes works too, no worries. This helps the leavening agent do it’s thing before you start to cook your pancakes.
➤ Check Your Baking Powder Before You Start — Make sure to use baking powder—don’t skip it! But also, double-check that yours isn’t expired. We all have that one ancient can hiding in the back of the cabinet… you know, the one that predates your last houseplant. It’s probably not rising to the occasion. So, it’s time to let it go.
If you need some, go grab some fresh baking powder at your local grocery or (you can also just click here to get some on Amazon) before you start making these scratch pancakes.
Why is Baking Powder so Important for Making Pancakes?
It’s simple really. Baking powder has a big part to play in the fluffiness of your pancakes! Without baking powder (or some other leavening agent), or if you baking powder is expired, your pancakes are very likely to be flat and dense.

If you need some baking powder you can get some here.
▪️ How to Make Your Pancakes more Uniform
Lastly, if you want your pancakes to be uniform, then you should use a ladle or a ¼ cup measuring cup for each. This will ensure your pancakes are all the same size (or very close to it) and they all cook evenly.
Oh! And if you like useful kitchen gadgets, you can also try this handy pancake batter dispenser. It’s the perfect kitchen gadget if you love making pancakes but want to avoid any mess.

I kept seeing this pancake batter dispenser all over TikTok and finally gave in — and wow, it actually works! No drips, no mess, and every pancake came out perfectly round. Definitely one of those gadgets I didn’t know I needed. If you love clean counters and perfect stacks, this thing is 100% worth it.
More Easy Pancakes You Can’t Miss!
Pin this recipe for later—your future self will thank you when the pancake cravings hit! 📌
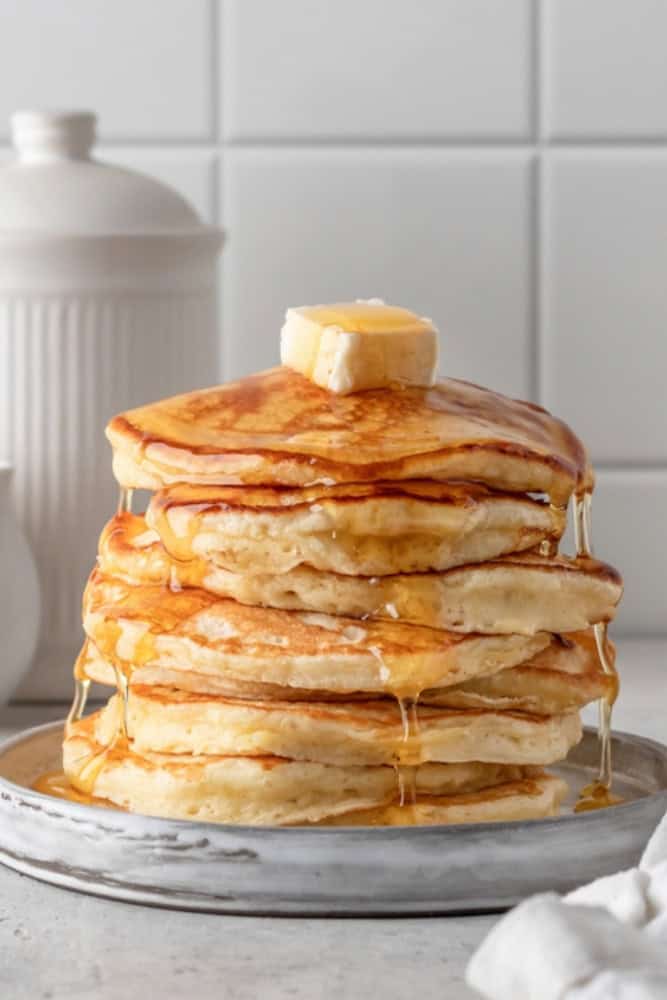
Scratch Pancakes
These are the BEST Scratch pancakes you can whip up right at home in minutes! These pancakes are made with easy-to-find ingredients and loaded with flavor.
Ingredients
- 1 ½ cups all-purpose flour, spooned and leveled
- 1 ¼ cups milk (gradually add some more if the batter is too thick)
- 3 tablespoons melted butter or coconut oil
- 1 large egg
- 2 teaspoons baking powder
- 2 tablespoons cane sugar
- 1 ½ teaspoons vanilla extract
- ½ teaspoon sea salt
- Extra butter or coconut oil, for cooking
- Extra butter and Maple Syrup for serving
Instructions
- Starting by gathering all the ingredients you need. Then measure out the ingredients. Measuring spoons and cups are a must—no eyeballing allowed! A little extra sugar or salt might not sound that bad, but trust me, your pancakes will notice. So, stick to the measurements, and your pancakes will turn out perfect every time!
- Then grab a mixing bowl and beat the milk, eggs, melted butter and vanilla extract until well combined.
- Then mix the dry ingredients (including the flour, baking powder, can sugar, and sea salt to combine.)
- Finally, add the dry ingredients to the wet ingredients and whisk just until there is almost no dry ingredients visible. Do not whisk the batter until it is smooth. You should leave a few lumps in there.
- Cover and set it aside for about 5 minutes.
- Next, add about 1 tablespoon of butter to a large non-stick frying pan or skillet and place it over medium-low heat. Once the butter is melted, pour ¼ cup of batter into the frying pan or skillet for each pancake. If your pan is large enough, like this one which I highly recommend, you can typically cook up to 4 pancakes at a time.
- When you see bubbles starting to form in the center of the pancakes, you’ll know its time to flip them – Typically 2-3 minutes. The bottom of the pancakes should be golden brown. If they are too brown, then you will need to lower the heat.
- Cook the pancakes for 2-3 minutes on the next side, then remoove from the heat.
- If there are any brown bits or brown butter left in the skillet, wipe them off with some paper towels. Then continue cooking the rest of your pancake until there is no more batter left!
- Serve with butter and maple syrup!
Notes
What I Used To Make These Pancakes
Nutrition Information:
Yield: 4 Serving Size: 2 pancakesAmount Per Serving: Calories: 460Total Fat: 24gSaturated Fat: 16gTrans Fat: 1gUnsaturated Fat: 6gCholesterol: 91mgSodium: 680mgCarbohydrates: 50gFiber: 1gSugar: 14gProtein: 9g