Last Updated on March 19, 2024 by Toya
This sourdough starter is the simplest sourdough starter you’ll ever make! It’s made with just a few simple ingredients and will help you make some amazing sourdough recipes.
What is sourdough starter?
Sourdough starter is a leavening agent made from fermented flour and water. This leavening agent has naturally occurring yeast and bacteria that cause baked goods to rise. It’s a great substitute for commercial leavening agents, and you only need a small portion to add to your baked goods to make them rise.
Sourdough starter was used way in the past when other leavening agents like baking soda and baking powder were not yet around.
Sourdough starter is usually used to make recipes like this sourdough bread with no yeast, and sourdough pancakes, and I used it to make this super moist banana bread recipe.
Today I will show you how to make your own sourdough starter from scratch!
Ingredients to make sourdough starter
To begin your starter, you need:
- 1 cup flour (whole rye, whole grain wheat, and unbleached all-purpose flour, are all great choices.)
- 1/2 cup cool water
To feed your starter each day, you need:
- scant 1 cup All-Purpose Flour
- 1/2 cup cool water (if your house is warm), or lukewarm water (if your house is cool)
How to make sourdough starter
Day 1 Make the starter
Combine the flour with ½ cup of cool water in a large, non-reactive container. Make sure the container is large enough to hold your starter as it grows; I recommend at least a 1-quart capacity. Stir everything together thoroughly; make sure there’s no dry flour anywhere. Cover the container loosely and let the mixture sit at warm room temperature for 24 hours.
Day 2 Look for signs of fermentation
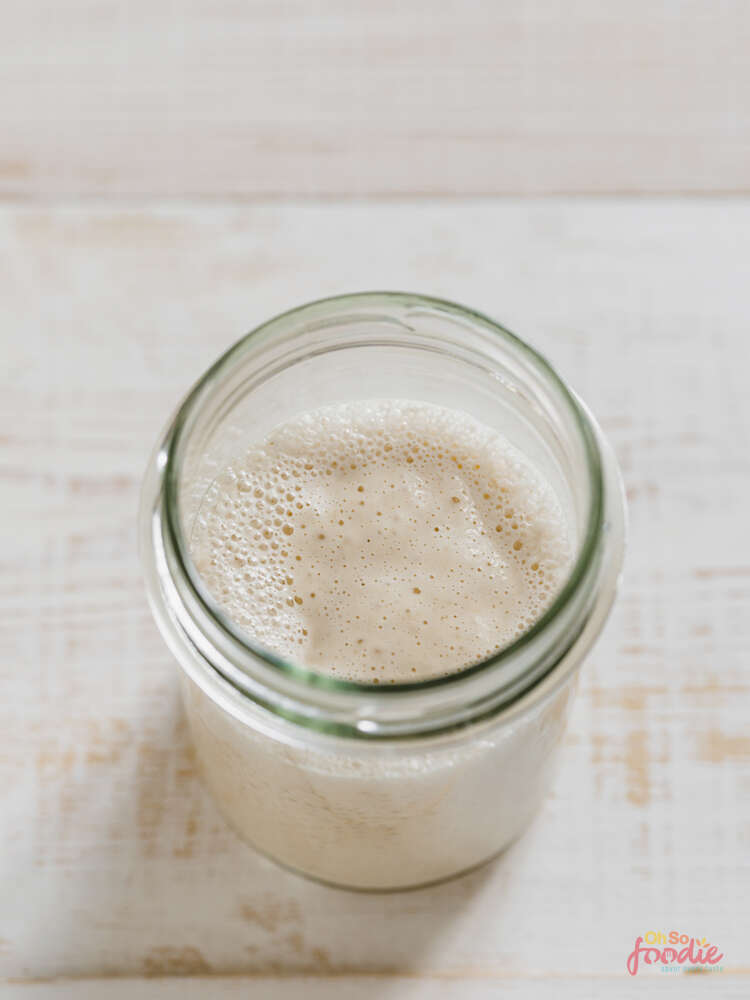
You may see no activity at all in the first 24 hours, or you may see a bit of growth or bubbling. Or even get a whiff of a sweet, funky smell.
Either way, at this stage, discard half of the starter (about 1/2 cup). Then add a scant 1 cup of all-purpose flour, and ½ cup of cool water (if your house is warm); or lukewarm water (if it’s cold) into the container. Stir well, and let it rest for another 24 hours.
Day 3 keep on feeding
By the third day, you’ll likely see some real activity, like bubbling. For each feeding, weigh out ½ cup of starter. Discard any remaining starter. Again, another scant cup of all-purpose flour and ½ cup water. Mix well, and let this rest for 12 hours.
Day 4 feed again
Weigh out ½ cup of the starter, and discard any remaining starter. Repeat the previous step. That is, add another scant cup of all-purpose flour and ½ cup water. Mix well, and let this rest for 12 hours.
Day 5 feed the starter again
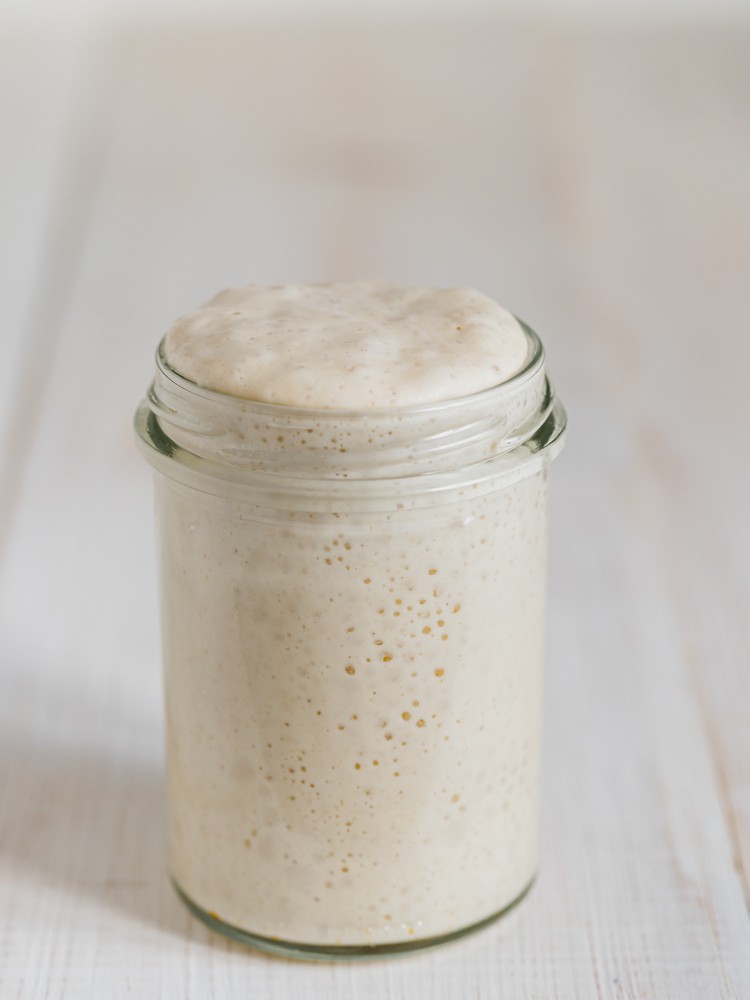
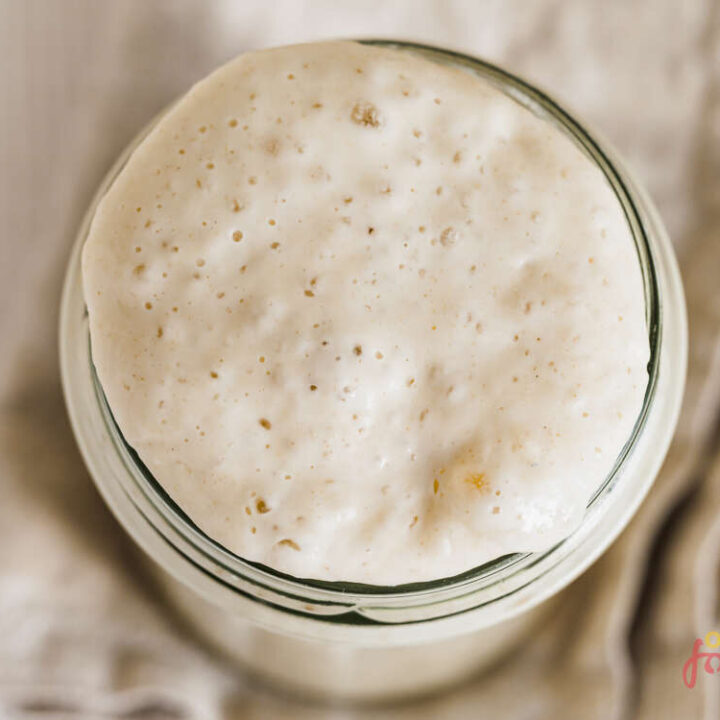
Weigh out ½ cup of starter, and discard any remaining starter. Repeat the previous step. By the end of day #5, the starter should have at least doubled in volume. Also, the starter should have a tangy aroma — pleasantly acidic, but not overpowering.
Day 6, last feeding
Once the starter is ready, give it one last feeding. Discard all but a generous 1/2 cup of the starter. Then feed as usual. Let the starter rest at room temperature for 6 to 8 hours; it should be active, with bubbles breaking the surface.
Remove however much starter you need for your recipe—typically no more than 1 cup. If your recipe calls for more than 1 cup of starter, give it a couple of feedings without discarding, until you’ve made enough for your recipe plus ½ cup flour to keep and feed again.
Maintaining your sourdough starter
Transfer the remaining ½ of the starter to its permanent home: a crock, jar, or whatever you’d like to store it in the long term.
Feed this reserved starter with 1 scant cup of flour and 1/2 cup water, and let it rest at room temperature for several hours, to get going, before covering it. If you’re storing this starter in a screw-top jar, screw the top on loosely rather than airtight.
Store this starter in the refrigerator, and feed it regularly; I recommend feeding it with a scant 1 cup of flour and 1/2 cup of water once a week.
The reason so much of the starter is discarded is simply because you are feeding your yeast more intensively.
FAQs about making a homemade sourdough starter recipe
How long does it take to make a sourdough starter?
To create any sourdough starter, especially this homemade sourdough starter from scratch, the overall process took 7 days. First, you will need to create the starter to start the fermentation process. Then, you’ll feed them with regular all-purpose flour regularly so as to cultivate the wild yeasts and friendly bacteria.
When will the sourdough starter be ready to use?
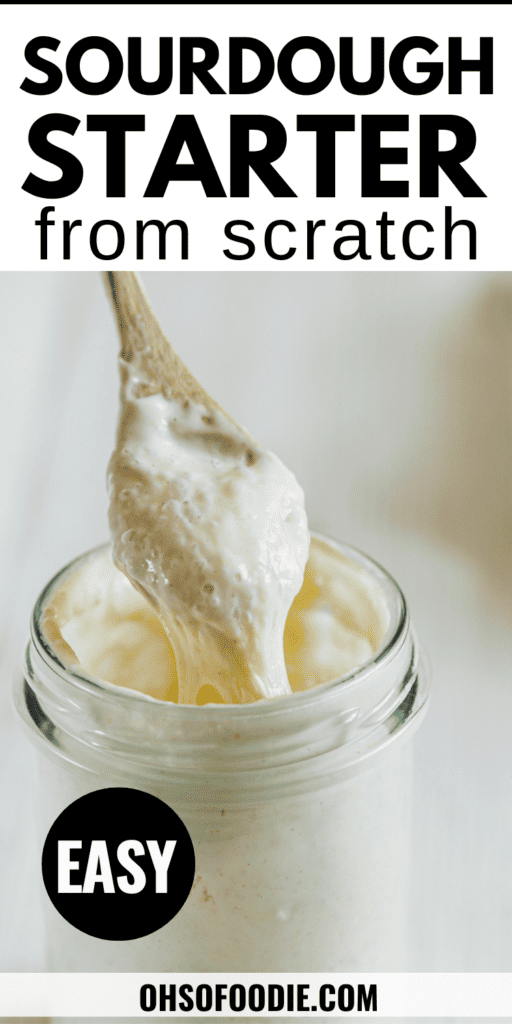
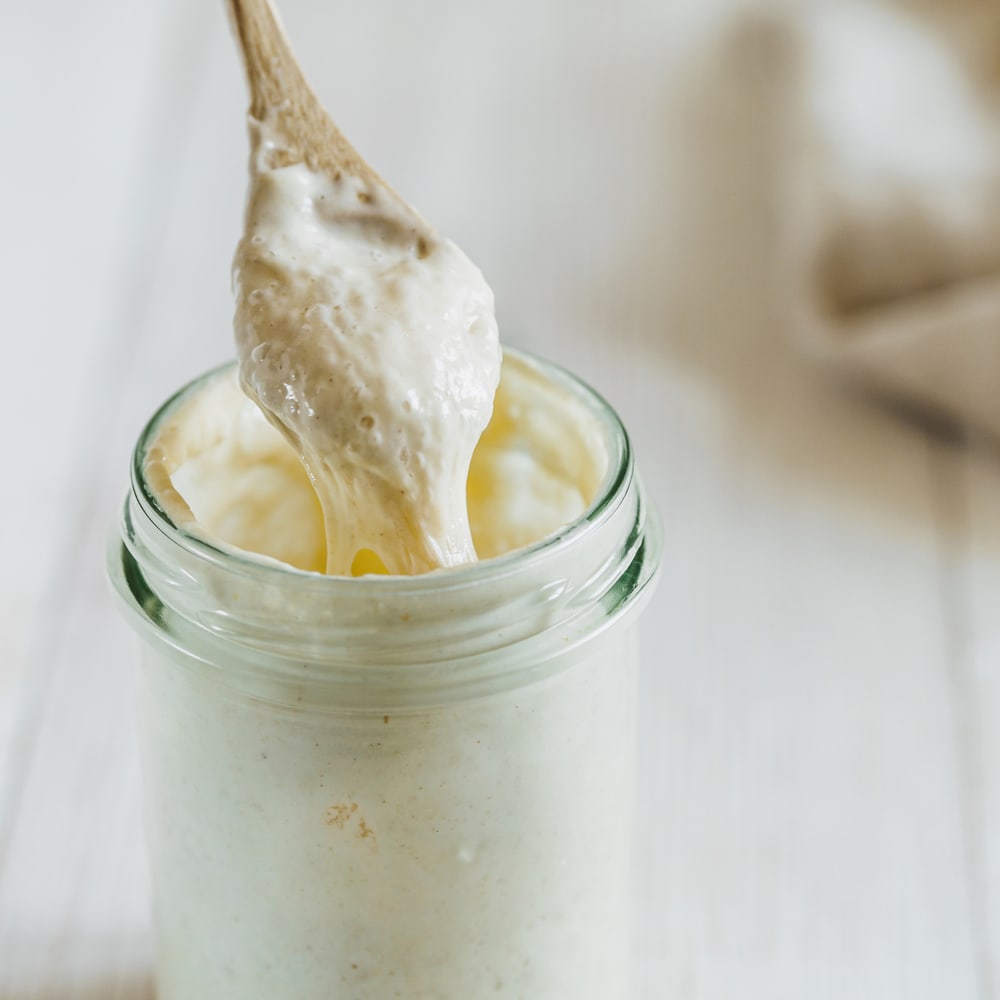
To know if a sourdough starter is ready, check to see if it has doubled in size and has plenty of bubbles on the surface. Also, drop a tablespoon of the starter into a jar of room-temperature water. If it floats, then you know it is ready.
Sourdough Starter From Scratch
This sourdough starter is the simplest sourdough starter you’ll ever make! It’s made with just a few simple ingredients and will help you make some amazing sourdough recipes.
Ingredients
- 1 cup flour (whole rye, whole grain wheat, and unbleached all-purpose flour, are all great choices.)
- 1/2 cup cool water
- scant 1 cup All-Purpose Flour
- 1/2 cup cool water (if your house is warm), or lukewarm water (if your house is cool)
Instructions
Day 1 Make the starter
Combine the flour with ½ cup of cool water in a large, non-reactive container. Make sure the container is large enough to hold your starter as it grows; I recommend at least a 1-quart capacity. Stir everything together thoroughly; make sure there’s no dry flour anywhere. Cover the container loosely and let the mixture sit at warm room temperature for 24 hours.
Day 2 Look for signs of fermentation
You may see no activity at all in the first 24 hours, or you may see a bit of growth or bubbling. Or even get a whiff of a sweet, funky smell.
Either way, at this stage, discard half of the starter (about 1/2 cup). Then add a scant 1 cup of all-purpose flour, and ½ cup of cool water (if your house is warm); or lukewarm water (if it’s cold) into the container. Stir well, and let it rest for another 24 hours.
Day 3 keep on feeding
By the third day, you’ll likely see some real activity, like bubbling. For each feeding, weigh out ½ cup of starter. Discard any remaining starter. Again, another scant cup of all-purpose flour and ½ cup water. Mix well, and let this rest for 12 hours.
Day 4 feed again
Weigh out ½ cup of the starter, and discard any remaining starter. Repeat the previous step. That is, add another scant cup of all-purpose flour and ½ cup water. Mix well, and let this rest for 12 hours.
Day 5 feed the starter again
Weigh out ½ cup of starter, and discard any remaining starter. Repeat the previous step. By the end of day #5, the starter should have at least doubled in volume. Also, the starter should have a tangy aroma — pleasantly acidic, but not overpowering.
Day 6, last feeding
Once the starter is ready, give it one last feeding. Discard all but a generous 1/2 cup of the starter. Then feed as usual. Let the starter rest at room temperature for 6 to 8 hours; it should be active, with bubbles breaking the surface.
Remove however much starter you need for your recipe—typically no more than 1 cup. If your recipe calls for more than 1 cup of starter, give it a couple of feedings without discarding, until you’ve made enough for your recipe plus ½ cup flour to keep and feed again.